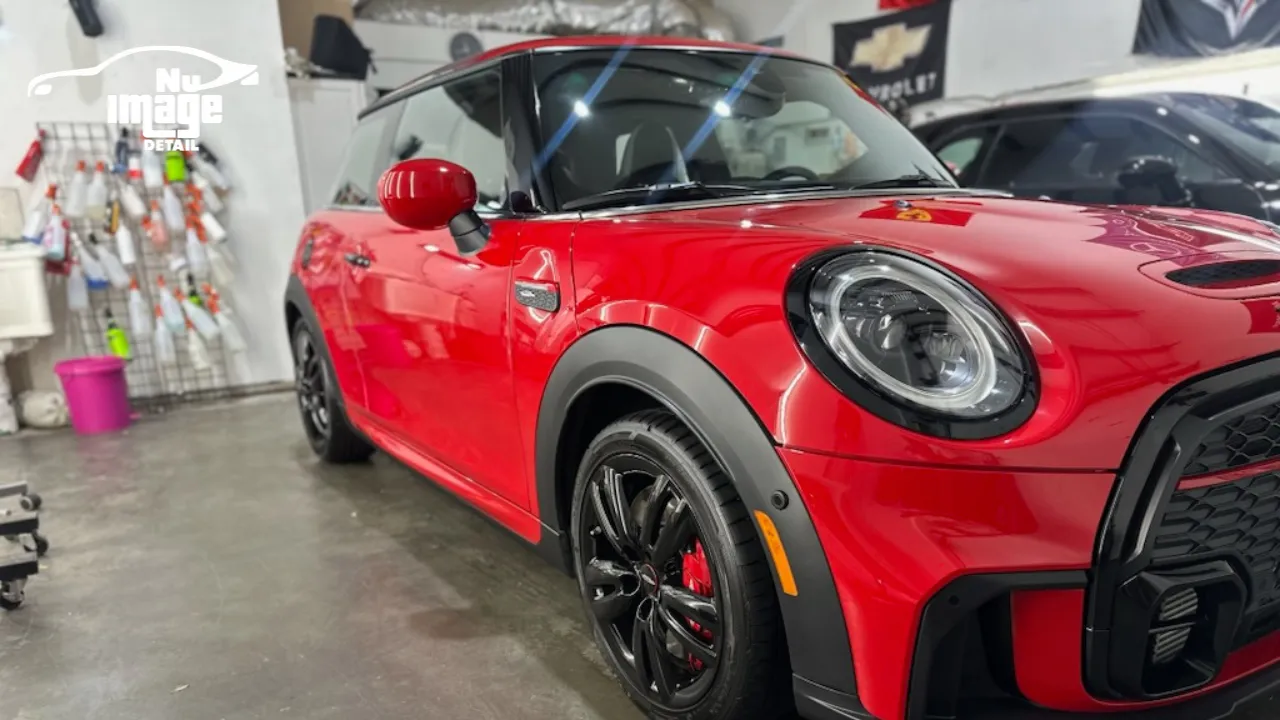
Why Side Skirts Get So Dirty
Side skirts sit in one of the harshest environments on a vehicle.
As tires rotate, they throw water, mud, sand, oil residue, brake dust, and tiny road particles directly toward lower body panels. During rainy weather, the buildup gets even worse because moisture helps grime stick more aggressively.
Vehicles driven on highways often develop a dark film along the side skirts that regular soap alone struggles to remove. In winter climates, road salt and chemical deicers create additional contamination that can slowly affect both paint and protective coatings.
Even vehicles stored indoors aren’t immune. Daily driving alone is enough to gradually stain lower trim and painted surfaces.
Start With a Proper Pre-Rinse
Before touching the side skirts with a wash mitt or towel, loosen as much debris as possible.
This step is more important than many people think.
A strong rinse helps remove sand and loose grit that would otherwise scratch the paint during contact washing. Pay close attention to the rear sections of the side skirts because they typically collect the heaviest buildup.
If available, a pressure washer works especially well here. However, keep a safe distance and avoid spraying directly into loose trim edges or damaged paint areas.
Insider Tip: Rinse From Multiple Angles
One technique professional detailers often use is rinsing side skirts from both front and rear angles instead of spraying straight downward.
This helps flush dirt trapped underneath lip edges and textured trim seams that standard rinsing can miss.
Use the Right Cleaning Products
Not all dirt on side skirts is the same.
Some contamination is simple road dust, while other buildup may include:
- Tar spots
- Grease
- Salt residue
- Brake dust
- Old tire dressing sling
- Traffic film
For routine maintenance, a pH-balanced car shampoo is usually enough. Heavier buildup may require a dedicated all-purpose cleaner diluted appropriately.
Tar removers can help with stubborn black specks near the lower rear sections, but they should be used carefully and sparingly.
One thing I always recommend is avoiding household degreasers unless you’re absolutely certain they’re safe for automotive finishes. Strong cleaners can stain trim or weaken protective coatings surprisingly fast.
Separate Your Lower-Panel Tools
This small habit makes a huge difference.
Side skirts should never be cleaned using the same wash mitt or towel used on upper paint surfaces without proper rinsing first.
Lower panels collect the harshest contamination on the vehicle. Mixing tools between sections increases the chance of dragging abrasive debris across cleaner paint.
A simple system works best:
- One mitt for upper panels
- One dedicated mitt for lower sections
- Separate microfiber towels for drying side skirts
Professional detailers often color-code towels for this exact reason.
Agitate Gently Instead of Scrubbing Hard
When grime looks heavy, the temptation is to scrub aggressively. That usually creates swirl marks and scratches, especially on darker vehicles.
Instead:
- Apply cleaner evenly
- Allow brief dwell time
- Agitate lightly with a microfiber mitt
- Rinse thoroughly
- Repeat if necessary
Patience works better than force.
This becomes especially important on gloss black side skirts, which show imperfections extremely easily.
Practical Observation From Experience
Some of the worst scratching I’ve seen wasn’t caused by automatic car washes. It came from owners scrubbing dirty lower panels with stiff brushes in their driveway.
Side skirts often hold tiny sand particles that act like sandpaper during aggressive cleaning.
Pay Attention to Textured Plastic Trim
Many SUVs, crossovers, and trucks feature textured plastic side skirts instead of painted surfaces.
These materials require a slightly different approach.
Textured trim tends to trap grime deep inside its surface pattern, making quick wiping ineffective. A soft detailing brush works well for loosening embedded dirt without damaging the texture.
Avoid overly glossy dressings afterward. Heavy silicone products often attract more dust and can create uneven streaking over time.
Instead, use a water-based trim protectant for a cleaner, more natural appearance.
Don’t Forget the Underside
The visible portion of the side skirt is only part of the problem.
The underside often traps:
- Mud
- Salt
- Wet sand
- Road debris
- Moisture buildup
Ignoring these hidden areas allows contamination to remain against the material for extended periods.
A thorough rinse underneath helps prevent long-term buildup and keeps drainage areas cleaner.
As explained in this guide on ceramic coating virginia beach, protecting lower vehicle surfaces becomes especially important in areas where road grime and environmental exposure are constant concerns.
Handling Stubborn Tar and Road Film
Tar spots are extremely common on side skirts, particularly behind the front wheels.
Trying to scrub tar off with force rarely works well. Instead, use a dedicated tar remover and allow it time to soften the contamination.
Apply the product to a microfiber towel rather than spraying excessively onto the panel.
After removal:
- Wash the area again
- Rinse thoroughly
- Dry carefully
This prevents chemical residue from lingering on the surface.
Insider Tip: Warm Panels Make Tar Removal Harder
Whenever possible, clean tar in shaded conditions.
Hot panels cause cleaners to evaporate faster and can make residue more difficult to remove evenly.
Drying Properly Matters
Many people wash side skirts thoroughly but rush the drying process.
Residual water around lower trim edges often leaves streaks or mineral spots, especially on darker vehicles.
Use clean microfiber towels dedicated specifically to lower panels. If available, compressed air or a small blower helps remove trapped water from seams and trim gaps.
Pay close attention around:
- Mud flap edges
- Rocker panel seams
- Trim clips
- Drain openings
This final step gives side skirts a properly finished appearance instead of looking half-cleaned.
Should You Apply Protection Afterwards?
Absolutely.
Side skirts benefit significantly from protection because they endure constant contamination.
Depending on the vehicle and driving conditions, options may include:
- Spray sealants
- Ceramic-based protectants
- Traditional wax
- Trim protectants for plastic sections
Protected surfaces generally clean easier during future washes because grime struggles to bond as aggressively.
Drivers who maintain protective layers consistently often spend far less time dealing with stubborn lower-panel buildup later.
Common Mistakes to Avoid
Even experienced car owners sometimes damage side skirts unintentionally.
Here are several issues worth avoiding:
Using Tire Brushes on Painted Panels
Tire brushes are often too stiff for automotive paint and can create noticeable scratching.
Washing Side Skirts Last With Dirty Water
By the end of a wash, bucket water may contain significant grit. Refresh rinse water if necessary before tackling lower panels.
Ignoring Winter Salt Residue
Salt buildup around side skirts can linger long after roads appear dry.
Applying Heavy Dressings on Dirty Trim
Dressings lock contamination into textured plastic if the surface hasn’t been cleaned thoroughly first.
Final Thoughts
Cleaning car side skirts properly requires more attention than most drivers initially expect, but the results are worth it.
These lower panels experience some of the harshest conditions on the vehicle, and neglect tends to show quickly. The key is approaching the process methodically — removing loose debris first, using gentle agitation, separating cleaning tools, and paying attention to hidden buildup underneath.