Custom embroidery designs are a fun way to make clothes, hats, bags, and gifts look special. Many people use embroidery for home use, while others use it for small shops and brands. A custom design can show your name, logo, art, or favorite style. With the right steps, anyone can learn how embroidery designs are made.
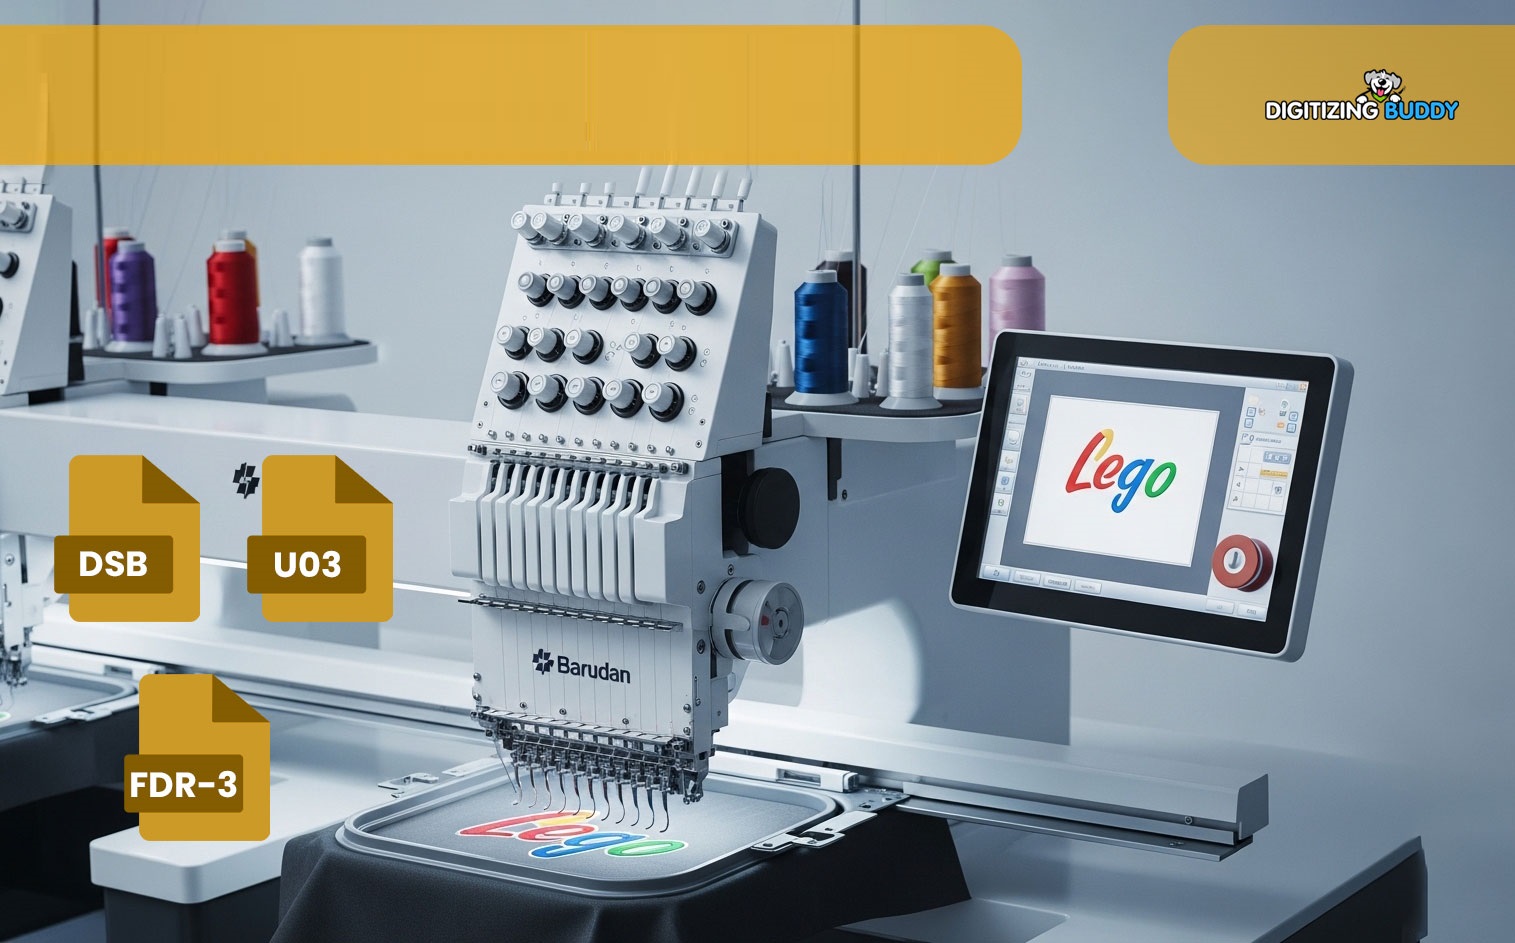
Many new users want to learn how to Transform a Logo into Barudan Embroidery File before they start machine stitching. This step helps turn simple artwork into a stitch-ready file that embroidery machines can read. Once you learn the basics, the process becomes much easier and more fun.
In this guide, you will learn how to create custom embroidery designs step by step. We will cover tools, design tips, file types, and common mistakes. The goal is to help beginners make clean and smooth embroidery files with less stress.
What Is a Custom Embroidery Design?
A custom embroidery design is artwork made for an embroidery machine. The machine reads stitch data and sews the design on fabric. This is different from a normal image because embroidery files contain stitch paths, thread colors, and sewing steps.
You can create designs for:
- Shirts
- Jackets
- Caps
- Towels
- Bags
- Uniforms
- Patches
Custom embroidery gives a handmade and rich look. Many small businesses use embroidery to build their brand image.
Why Custom Embroidery Is Popular
Embroidery lasts a long time. It does not fade fast like print work. The thread also gives a raised and clean look that many people love.
Main Benefits of Embroidery
Strong and Long Lasting
Embroidery can stay in good shape after many washes.
Professional Look
It makes logos and names look neat and high-end.
Great for Branding
Many companies use embroidery on uniforms and caps.
Personal Style
You can create gifts and custom items for family and friends.
Tools You Need to Start
You do not need a large setup in the beginning. Start with simple tools and upgrade later.
Embroidery Machine
This is the main tool. Some machines work for home use, while others are made for shops.
Digitizing Software
This software changes artwork into embroidery files. It helps create stitches, paths, and thread settings.
Computer or Laptop
You need a system to run the software and save embroidery files.
Stabilizer
This helps keep fabric firm while stitching.
Threads and Needles
Use good-quality thread for smooth stitching.
Understanding Embroidery Digitizing
Digitizing is the process of turning artwork into stitches. The software does not do everything by itself. A digitizer must decide stitch type, stitch angle, density, and path.
This is why good digitizing takes skill and practice.
Common Stitch Types
Satin Stitch
Used for letters and borders.
Fill Stitch
Used for large areas.
Run Stitch
Used for fine lines and small details.
Each stitch type has a special use. Picking the wrong stitch can ruin the final result.
Choosing the Right Artwork
Good artwork makes digitizing easier. Clean images help create smooth embroidery files.
Best Tips for Artwork
- Use high-quality images
- Keep shapes simple
- Avoid tiny details
- Use clear lines
- Pick bold colors
Simple artwork works best for embroidery. Very small details may not stitch well.
How to Create a Custom Embroidery Design
Now let us look at the full process step by step.
Step 1: Pick Your Design
Choose text, a logo, or artwork. Think about where the design will go. A cap design should not be too large. A jacket back can hold a bigger design.
Step 2: Upload the Artwork
Open your digitizing software and import the image.
Step 3: Set the Design Size
Pick the final stitch size before digitizing. Changing the size later can affect stitch quality.
Step 4: Choose Stitch Types
Select satin, fill, or run stitches based on the design.
Step 5: Set Stitch Direction
Stitch angle changes how thread shines on fabric. Good angles make designs look smooth and clean.
Step 6: Adjust Density
Too many stitches can damage fabric. Too few stitches can leave gaps. Balance is very important.
Step 7: Add Underlay
Underlay stitches support the top stitches. They help keep the design stable.
Step 8: Save the File
Save the design in the format your machine uses.
Common Embroidery File Formats
Different embroidery machines use different file types.
Popular File Formats
| File Type | Machine Brand |
| DST | Tajima |
| PES | Brother |
| JEF | Janome |
| EXP | Melco |
| DSB | Barudan |
Always check your machine before saving the design.
Best Tips for Beginners
Learning embroidery digitizing takes time. Small changes can make a big difference.
Keep Designs Simple
Simple shapes stitch better than complex art.
Test Before Final Stitching
Always run a sample test on fabric.
Use Good Stabilizer
The wrong stabilizer can cause puckering.
Slow Down the Machine
Beginners should use lower machine speed.
Learn from Mistakes
Every failed stitch teaches something useful.
Common Mistakes to Avoid
Many beginners face the same problems. Knowing these mistakes can save time and fabric.
Using Low-Quality Images
Bad images create poor stitch results.
Too Many Small Details
Tiny parts may not stitch clearly.
Wrong Density Settings
Heavy stitches can break thread or wrinkle fabric.
Ignoring Fabric Type
Soft and thick fabrics need different settings.
Not Testing the Design
Skipping tests can waste material.
Best Fabrics for Embroidery
Some fabrics are easier to work with than others.
Cotton
Good for beginners because it stays stable.
Denim
Strong fabric for jackets and patches.
Polyester
Common for sportswear and uniforms.
Canvas
Great for bags and thick items.
Stretch fabrics are harder for beginners. Start with stable fabric first.
How Thread Choice Affects Designs
Thread quality changes the final look.
Polyester Thread
Strong and colorfast. Good for daily use.
Rayon Thread
Soft shine and rich color. Looks very smooth.
Cotton Thread
Used for a classic handmade look.
Cheap thread can break often and slow down work.
Why Test Stitching Matters
Even a perfect screen design may stitch badly on fabric. Test runs help find problems early.
What to Check During Testing
- Thread breaks
- Gaps in stitches
- Fabric pulling
- Bad lettering
- Uneven fill areas
Testing helps improve quality before final production.
Tips for Better Lettering
Text is one of the hardest parts of embroidery.
Keep Letters Large Enough
Very small text may become unreadable.
Use Simple Fonts
Clean fonts stitch better than fancy styles.
Add Proper Spacing
Letters need room between stitches.
For caps and small logos, simple text works best.
How Long Does Digitizing Take?
Simple designs may take 15 to 30 minutes. Complex logos may take hours. Skilled digitizers spend time testing and fixing stitch paths.
Speed comes with practice.
Can Beginners Learn Digitizing?
Yes, beginners can learn digitizing with patience and regular practice. Many experts started with basic designs and improved over time.
Best Ways to Improve
Practice Daily
Even short practice helps.
Watch Tutorials
Video lessons help explain tools and settings.
Study Real Designs
Look at how expert files are built.
Learn Fabric Basics
Each fabric reacts in a different way.
The more you test, the more you learn.
Starting a Small Embroidery Business
Many people turn embroidery into a side business. Custom logos and name embroidery are always in demand.
Popular Embroidery Products
- Company uniforms
- Caps
- Baby gifts
- Patches
- Sportswear
- Tote bags
Start small and focus on quality work. Happy customers often bring repeat orders.
How to Keep Your Embroidery Machine in Good Shape
Machine care is very important. A dirty machine can cause thread breaks and poor stitching.
Basic Maintenance Tips
Clean Dust Often
Remove lint after each project.
Oil the Machine
Follow the machine guide for oiling.
Change Needles
Old needles can damage fabric.
Store Threads Properly
Keep thread away from dust and sunlight.
Simple care helps machines last longer.
The Future of Custom Embroidery
Embroidery is growing fast. More people want custom clothing and branded items. New software and smart machines make the process easier than before.
Small businesses, online shops, and hobby users all use embroidery today. This means there are many chances to learn and grow in this field.
Final Thoughts
Creating custom embroidery designs may seem hard at first, but it becomes easier with practice. Start with simple artwork and learn the basics step by step. Good digitizing, clean stitches, and proper testing all help create better results.
Focus on quality instead of speed. Use good tools, test your designs, and keep learning from every project. Over time, you will build the skills needed to create smooth and professional embroidery designs.
Whether you want to make gifts, start a small shop, or create brand logos, custom embroidery is a useful and creative skill that can grow with you.